Before you begin, download the setup executable and review the prerequisites on Install Gaea.
Running the Setup
Portable installation installs Gaea into a user-writable or custom folder. Use it when you do not have administrator privileges, need a removable-drive install, or want a self-contained deployment.
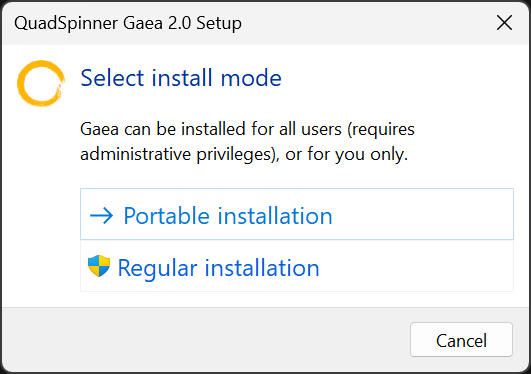
Choosing the Installation Type
Select Portable Installation. Choose Regular Installation instead when you want the standard Windows install and bridge registry entries.
Portable installations do not create the same registry entries as regular installations. If you rely on Gaea2Unreal or Gaea2Houdini, see Mass Deployment for bridge setup options.
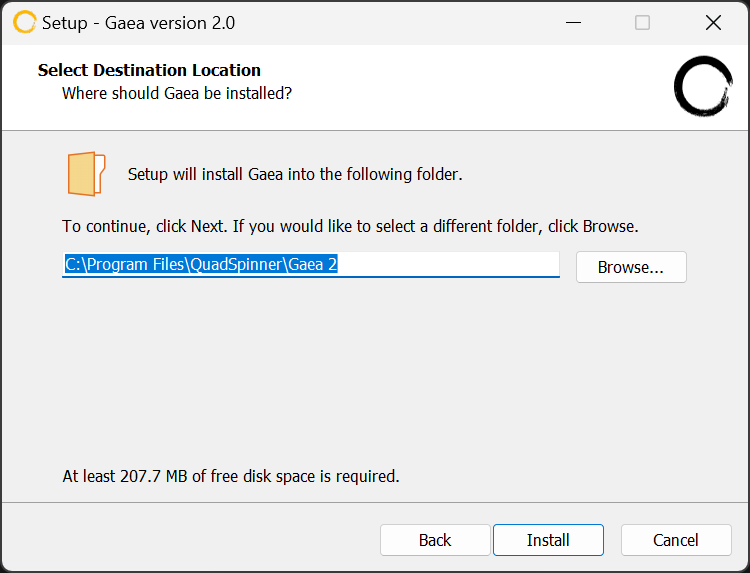
Choosing the Path
Choose where Gaea should be installed.
By default, portable installation uses:
C:\Users\YOU\AppData\Local\Programs\Gaea 2.0
You can choose a more accessible path, a studio-managed folder, or a USB drive. Make sure the folder is writable and that the path remains available whenever you run Gaea.
Gaea will now install. You will be given an option to launch Gaea once the installation is finished.
First Launch
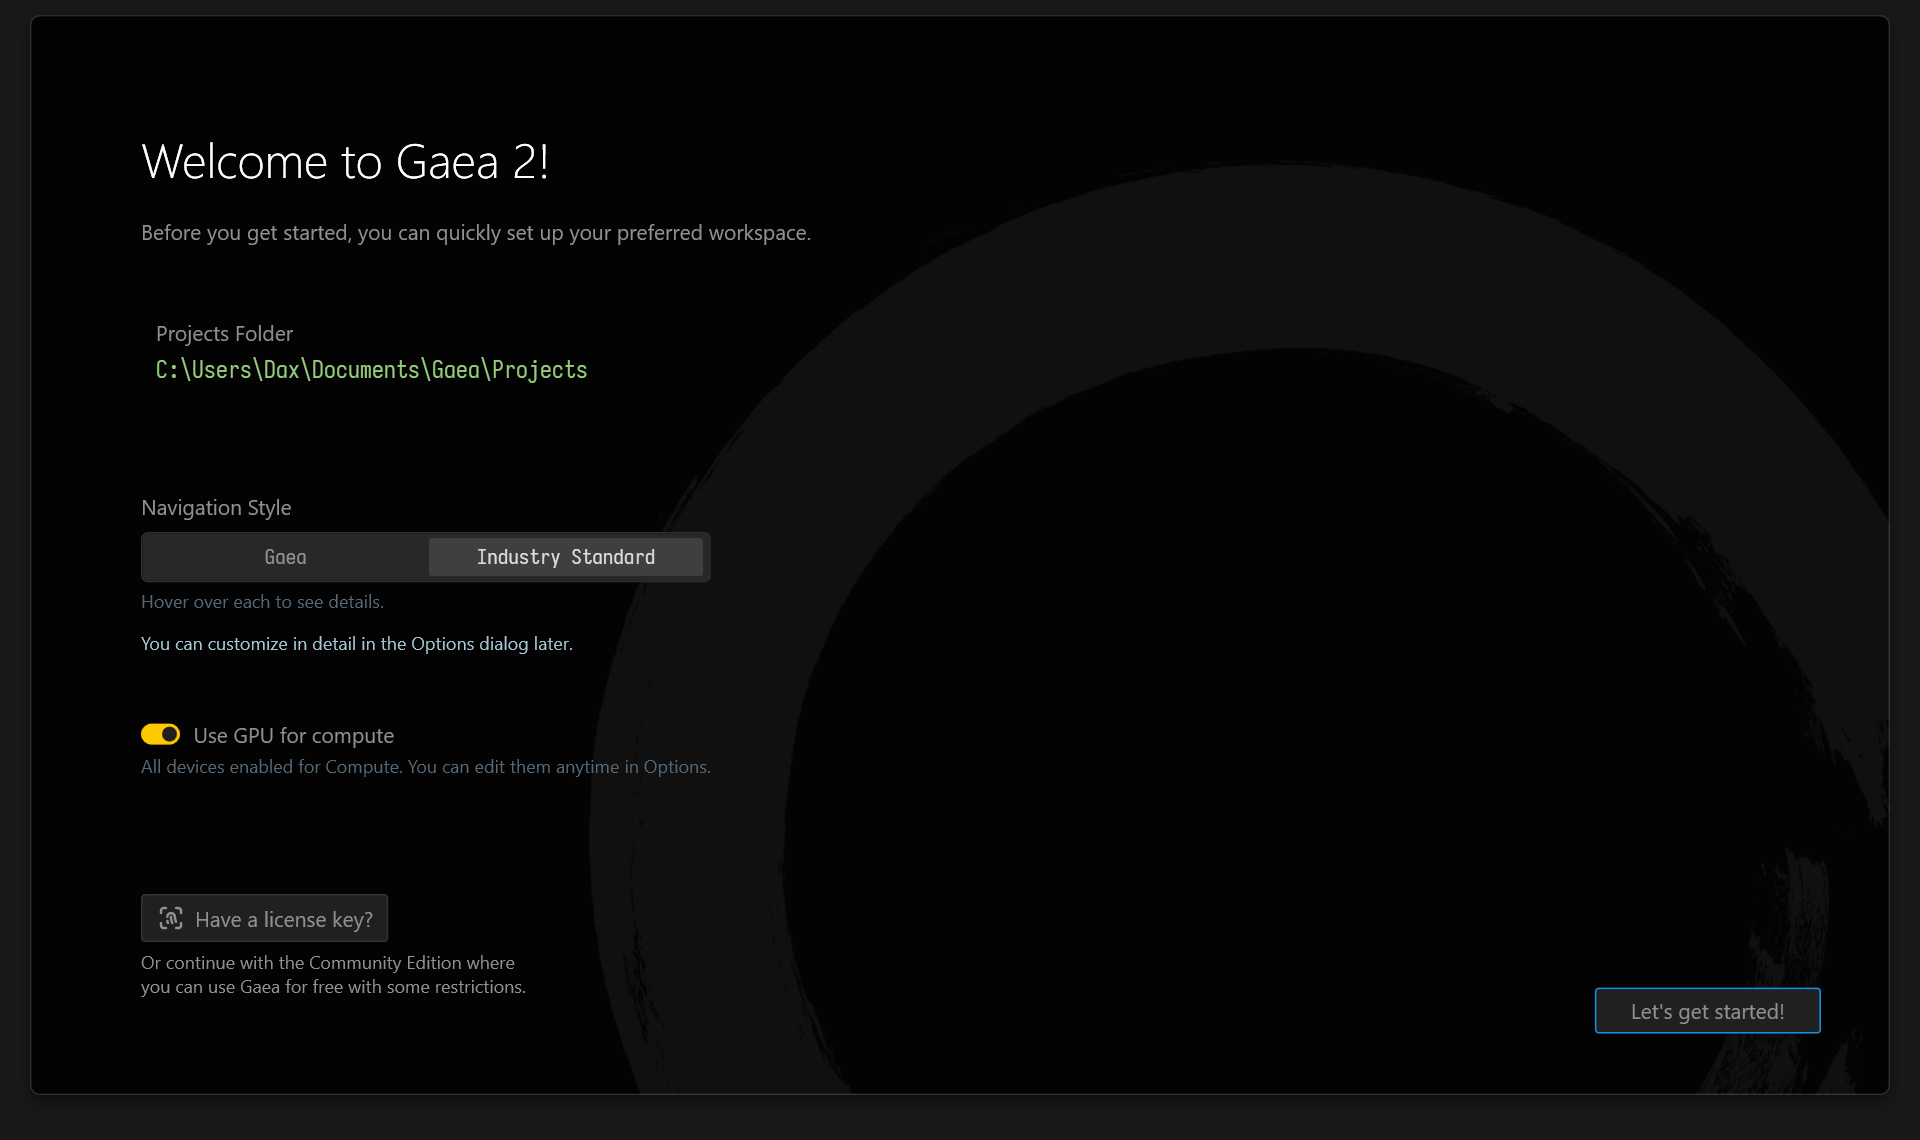
When Gaea launches for the first time, the Welcome dialog lets you set your Gaea Projects storage path and choose the Viewport navigation style.
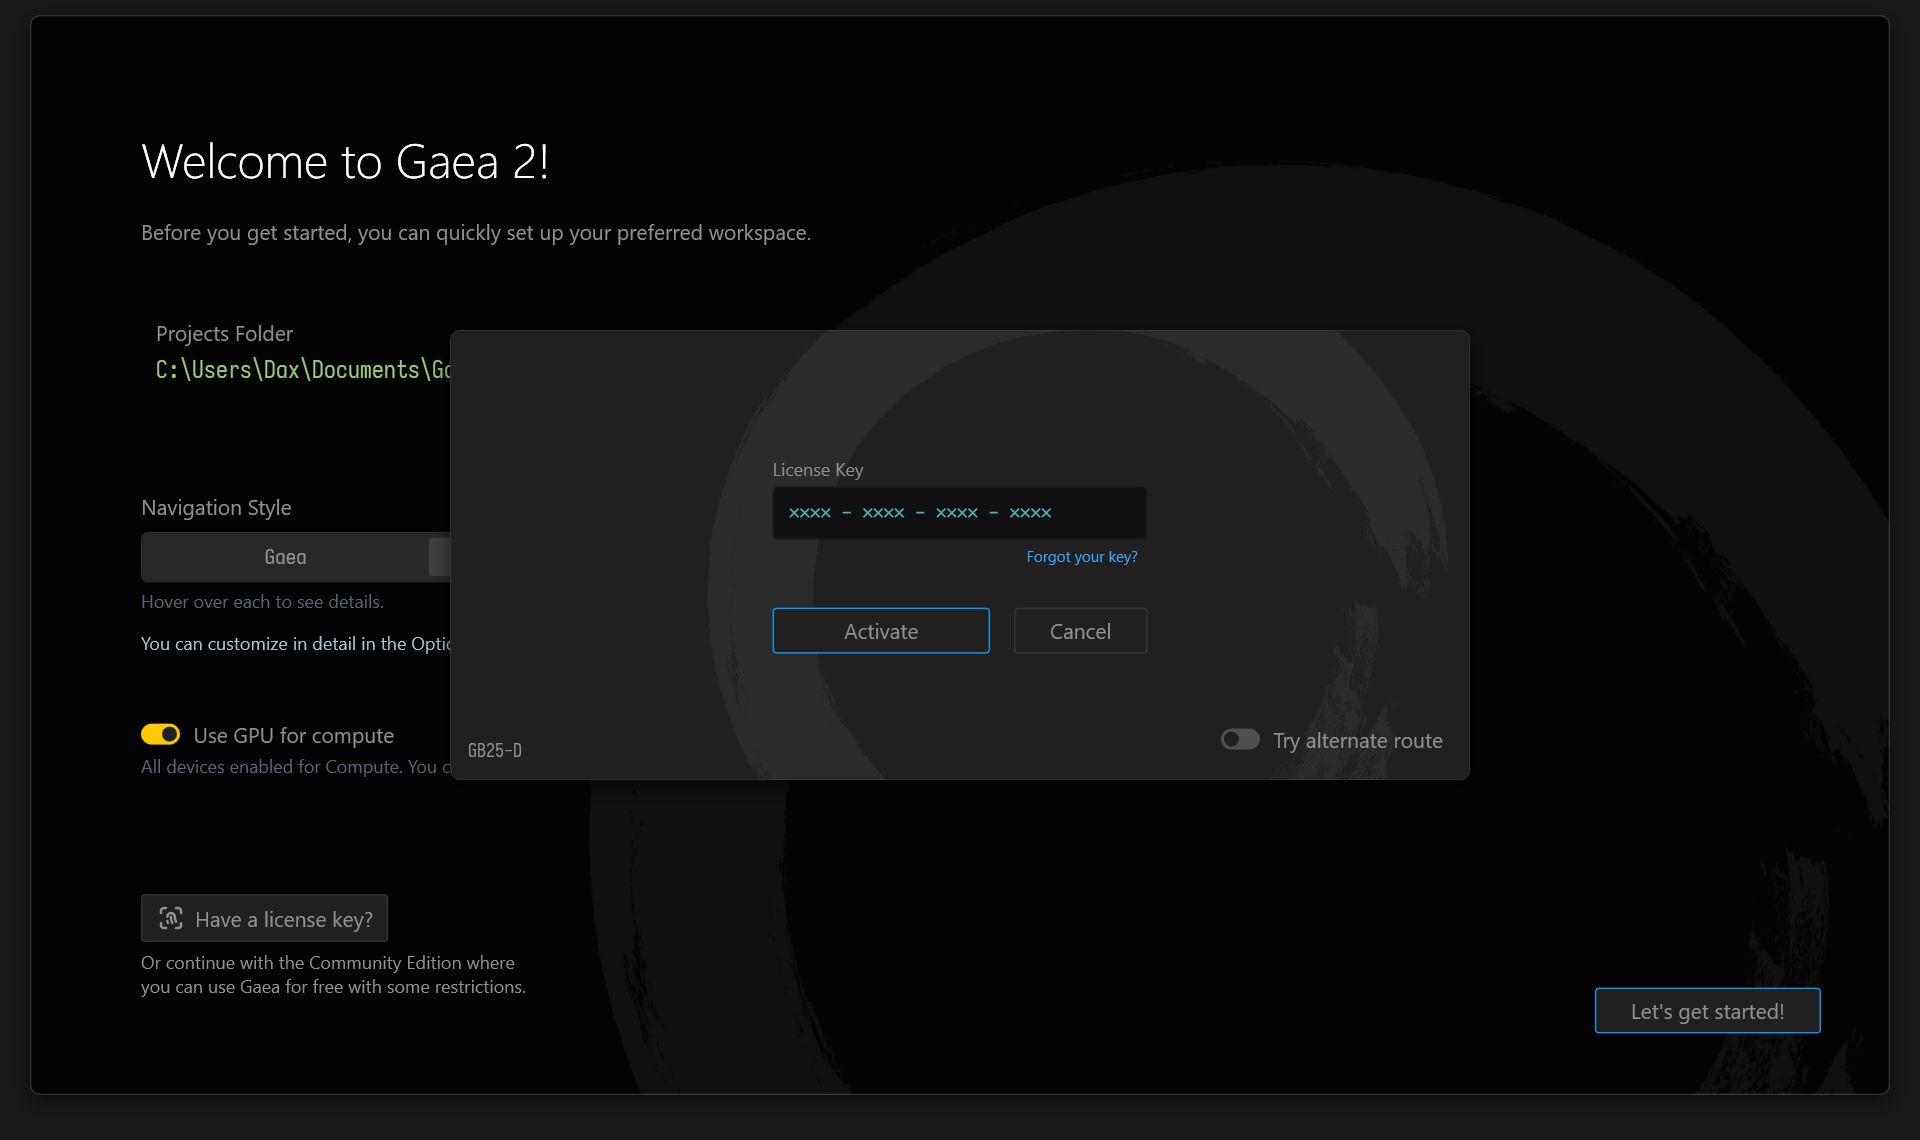
License Key
If you have a License Key, enter it here to activate the features included with your Gaea edition. You can find the License Key in the email you received after purchasing Gaea 2.
If you have forgotten your License Key, you can click "Forgot your key?" to log into the User Area on the QuadSpinner website.
You can also enter your License Key from the Start Screen whenever you start Gaea, or from Help > About. See Activation for more details.
File Licenses
For file-based licenses, drag the .lic file onto the license dialog. Gaea will consume the file and authorize your copy.
Gaea is now installed and you are ready to create Starter Guide!
Facing issues? See Troubleshooting.
 using AngryMonkey